If you know how to take screenshots on your MacBook. It can improve your productivity and make your life a lot easier. In MacBook, you will take different types of screenshots by using keyboard shortcuts. We have made a simple step-by-step guide on How To Take Screenshot on MacBook.
Take Screenshot In MacBook By Using Keyboard Shortcuts
How To Take Screenshot on Mac for Entire Screen
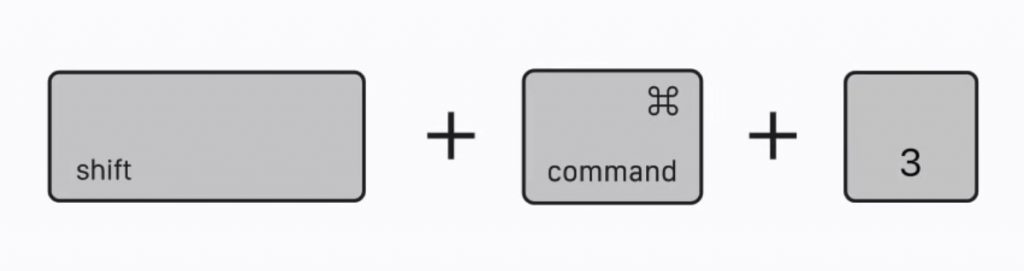
- On MacBook, you have to Press and Hold Shift + Command + 3 to take a Screenshot.
- It appears as a thumbnail in the bottom-right corner of your screen.
- Click the edit or wait it will save to your desktop by default.
How To Take a Screenshot of a Portion of Screen
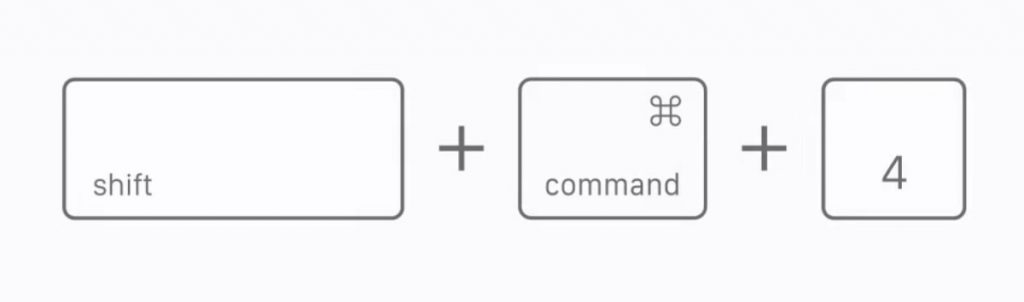
- Take a Screenshot of a Portion of your screen, press and hold Shift + Command + 4
- It will turn your pointer into a crosshair.
- Drag your crosshair and select the area you want to take a screenshot.
- Now release your trackpad or mouse.
- You can press the ESC (Escape Key) to cancel before releasing the trackpad or mouse.
Take a Screenshot of a window
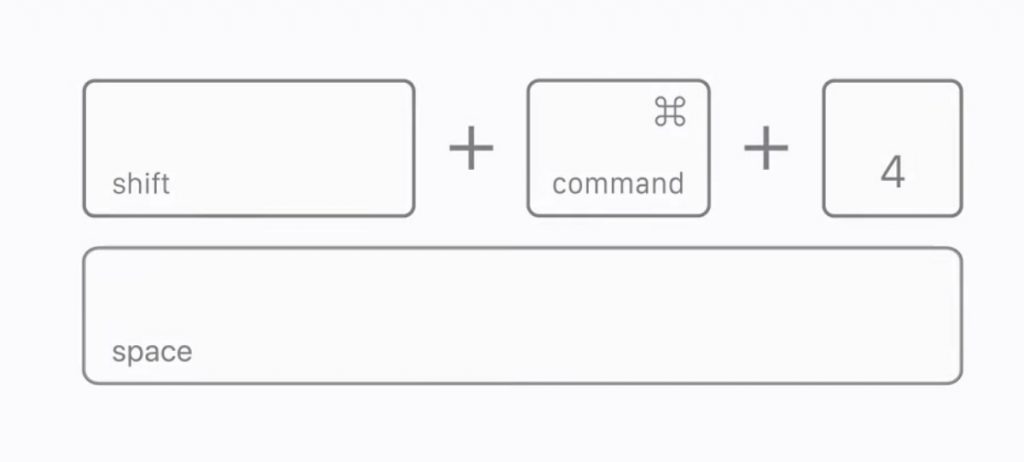
- To take a screenshot of Window, Press and Hold Shift + Command + 4 + Space Bar
- This will change your pointer to a camera.
- Move the camera over to the window or menu you want to capture. And confirm that it’s selected.
- Then, Click your trackpad or mouse to take the screenshot.
- Your screenshots will be saved to your desktop.
How To Take Screenshots On Mac by using The Screenshot Toolbar
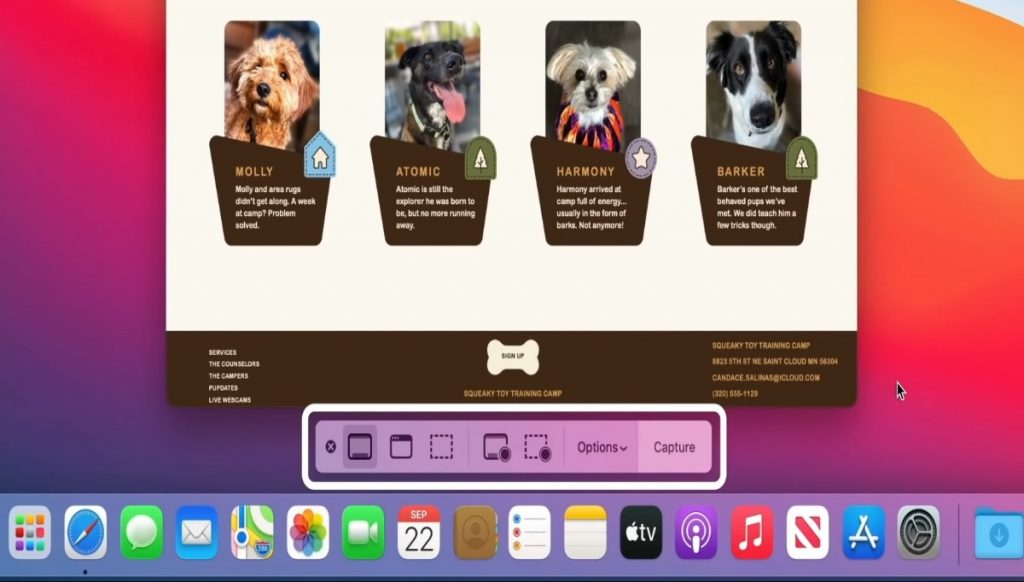
The Screenshot toolbar is useful for things like recording your screen and changing your screenshot settings. To open it. Press Shift + Command + 5 By default. The Screenshot toolbar will appear at the bottom of the screen, You will find the controls for taking screenshots on the left-hand side.
You can choose to capture the entire screen, single window, or a portion of the screen. You also find tools for recording the entire window or portion of the screen.
Verdict
By following all the steps carefully, you will able to take a screenshot on your MacBook. You can take screenshot on your other Apple devices like iPhones and iPad. If you have faced any other issues please do comment. We will try to solve it as soon as possible.
For The Latest Latest Activities And News Follow our Social Media Handles
Facebook:- Gadgetnotebook
Twitter:- Gadgetnotebook
Instagram:- Gadgetnotebook